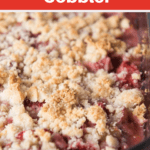
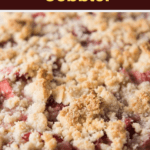
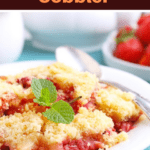
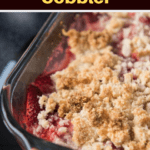
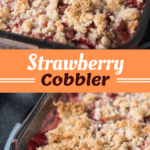
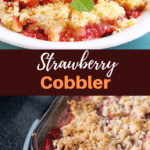
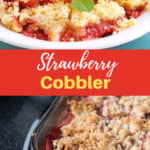
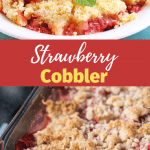
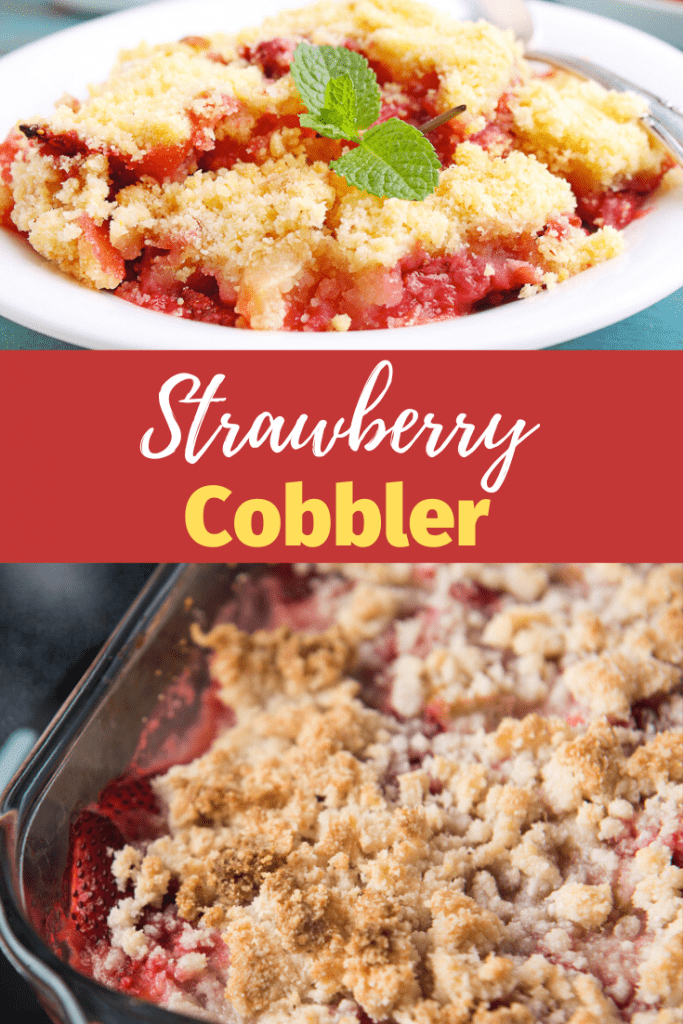
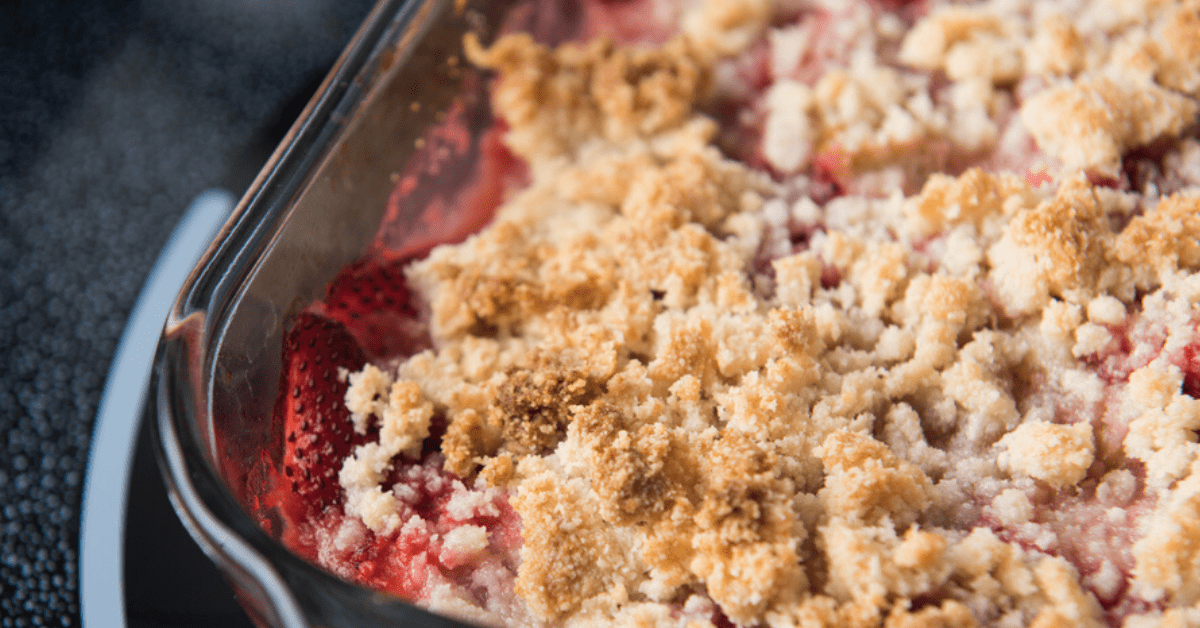
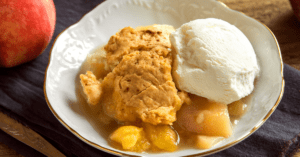
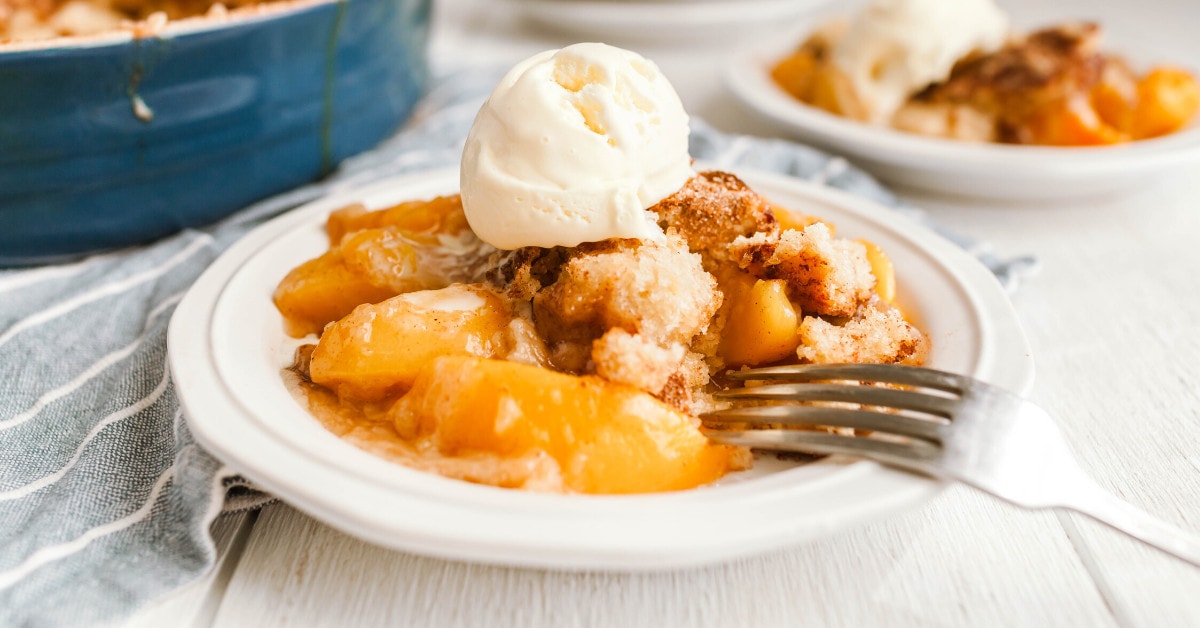
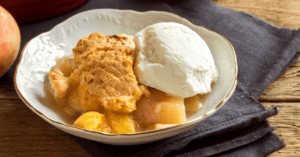
This sweet-smelling berry is tart and juicy, which makes it the perfect ingredient for jams, compotes, and of course, cobbler. This cobbler is a refreshingly simple recipe with fresh strawberries, a buttery crust, and a naturally sweet syrup. Top it off with a scoop of vanilla ice cream and you’ve got the perfect dessert!
Tips & Tricks
Some people use water when making homemade crusts, but I highly recommend lemon juice instead. It gives a nice balance to the sweetness of the sugar and the strawberries, giving you a wonderful tasting cobbler.
If you want a rich dough, use cream in place of milk.
The strawberries already give the cobbler beautiful red and pink hues, but if you want to make the colors pop even more, add a few drops of red food coloring to the filling.
Don’t limit yourself to strawberries alone – you can use blueberries, blackberries, rhubarb, peaches, cherries, or whatever fruit you desire! Try to use fresh fruits as much as you can. Avoid canned filling as much as possible because doing so will give you a gummy cobbler.
Don’t forget to add the cornstarch, or else your pie will be all runny and will make the crust soggy.
If you’re diabetic but still need some sweetness in your life, use Splenda in place of sugar and you’ll still be able to enjoy this dessert.
Always use cold butter when making the dough. Use a cheese grater to cut it effortlessly.
Do not cover the filling entirely with the biscuit topping. If you put too much, the fruits and the topping will steam instead of bake. You will end up with a wet rather than a crisp cobbler. So, when adding the topping, leave a space in between portions. This will let steam escape from the fruit filling.
Do not over-mix the crust batter. It’s okay to leave it with a few lumps here and there.
Since you have no way of seeing the bottom layer and filling, it can be challenging to determine whether your cobbler is already cooked. Here’s the trick: insert a probe thermometer at the center of the cobbler. If the filling has reached 200 degrees Fahrenheit, you’ll know it’s done.
Can You Freeze Strawberry Cobbler?
Yes, you can. Freezing strawberry cobbler will make it last for 1 to 3 months. Depending on which method you choose. The first option is to bake the entire cobbler. Allow it to cool, then cover tightly in plastic wrap and foil. Freeze for up to one month. Reheat in the oven. A word of caution, though, once you thaw and reheat frozen cobbler, expect it to be a little mushier than normal because the strawberries will ooze out juices as it defrosts. But admittedly, still delicious! And this is definitely the easiest option for freezing. If you intend on storing strawberry cobbler for a longer period, freeze just the filling instead. Then, when you’re ready to serve it, thaw and defrost the filling and bake with the crust as instructed. This way, you won’t sacrifice the integrity of the cobbler. Plus, freezing your berries allows you to enjoy the fresh taste of summer year round. Mix together the filling. Place in a baking dish. Cover and freeze for up to 3 months. When you’re ready to bake the cobbler, bake the filling first for 35 to 40 minutes. You’ll know it’s ready when it starts to bubble. Next, mix together your topping, spoon the mixture over the strawberry filling, and return to the oven for another 20 to 25 minutes.
How to Make Strawberry Cobbler
An excellent strawberry cobbler has a crisp, crumbly, and golden top layer with a sweet and tender fruit filling inside. And while strawberry cobbler may seem intimidating to make, this recipe might change your mind. Make this comfort food at home with this simple recipe. Click on a star to rate it!
Average rating 5 / 5. Vote count: 7 No votes so far! Be the first to rate this post.
Share on social media: Let us improve this post!
