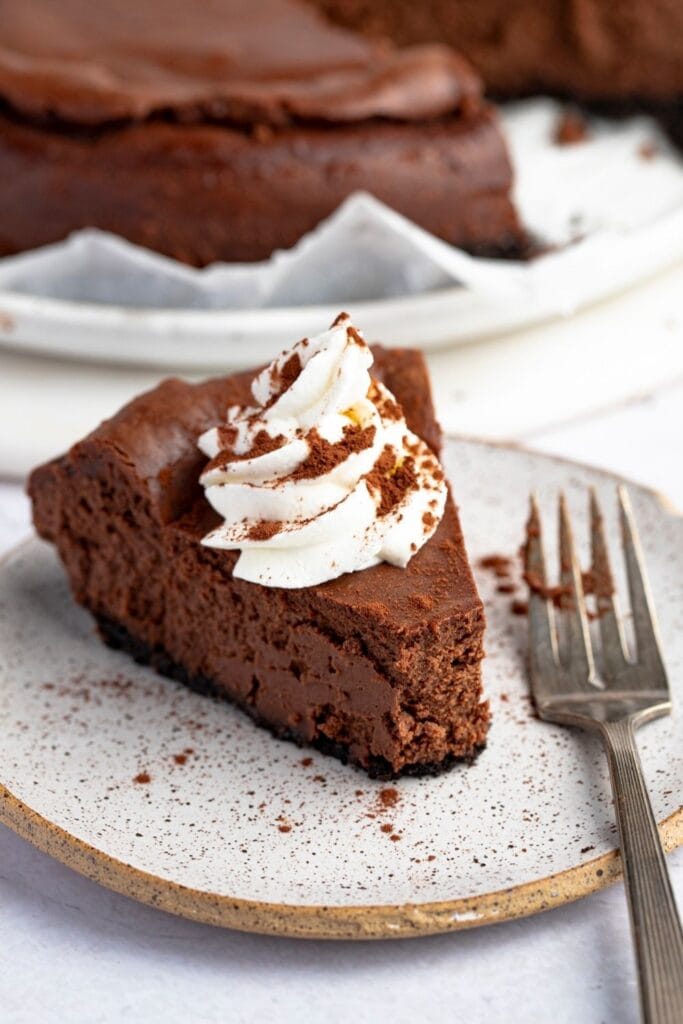
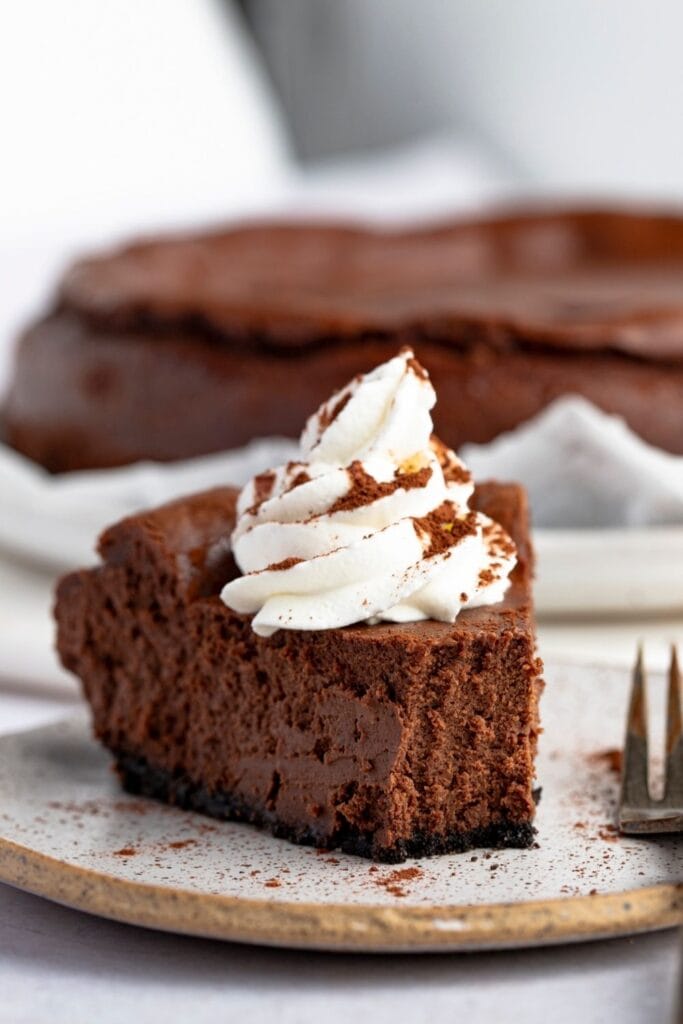
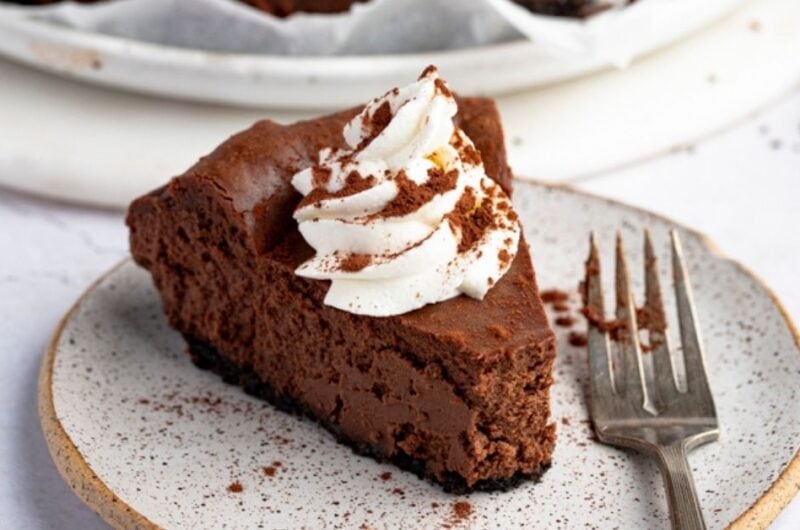
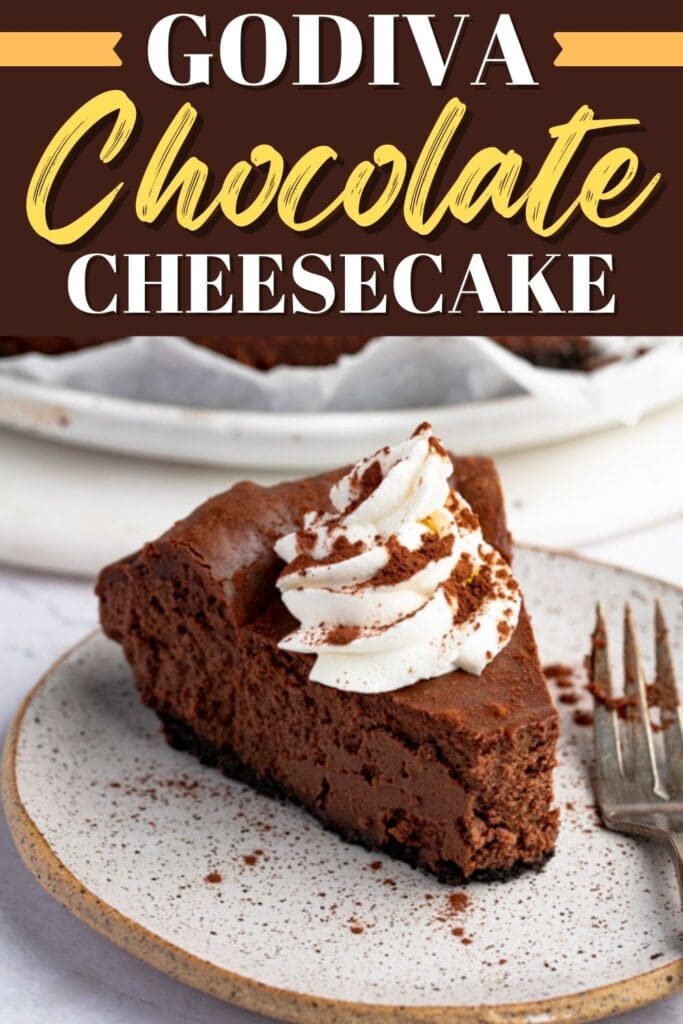
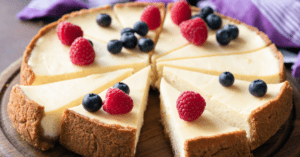
If you like dessert that’s creamy, indulgent, and intensely chocolatey, you’ll definitely want to try this one. It may be a copycat recipe, but I daresay it tastes better than the original. Being a bit of an addict, you know you can trust me when I say this is one of the best cheesecake recipes I’ve ever had. It’s smooth and dense with the perfect balance of sweet and bitter. I should probably warn you, though; this Godiva chocolate cheesecake is dangerous – you won’t be able to stop at just one slice.
Godiva Chocolate Cheesecake
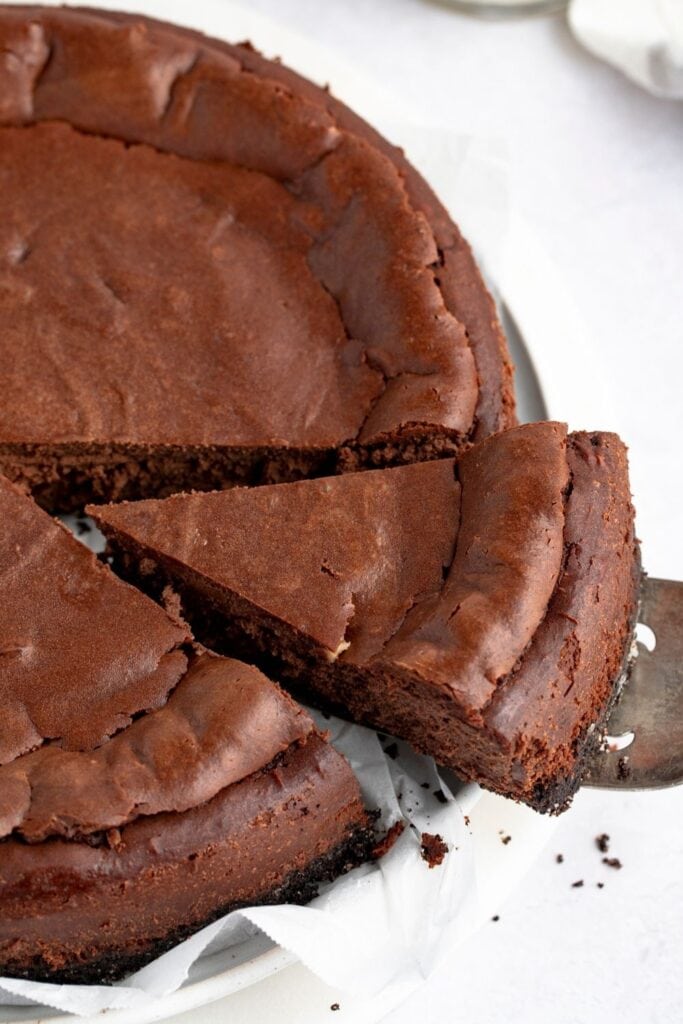
This copycat recipe is a must-try for diehard chocolate and cheesecake aficionados. There’s a chocolate crust at the bottom, a cheesecake/chocolate mousse filling on top, and an optional whipped cream and raspberry filling to finish it off. I’ll give you a moment to take all that goodness in. Now, I won’t lie: this isn’t one of the super easy-peasy recipes I usually feature on my blog. But it’s so delectable, I decided to make an exception. Is it finicky? Yes. Are there several ways to mess it up? Uh-huh. Is it worth it? Absolutely! And don’t worry, I’ll be here with you every step of the way! Let’s get started.
Ingredients
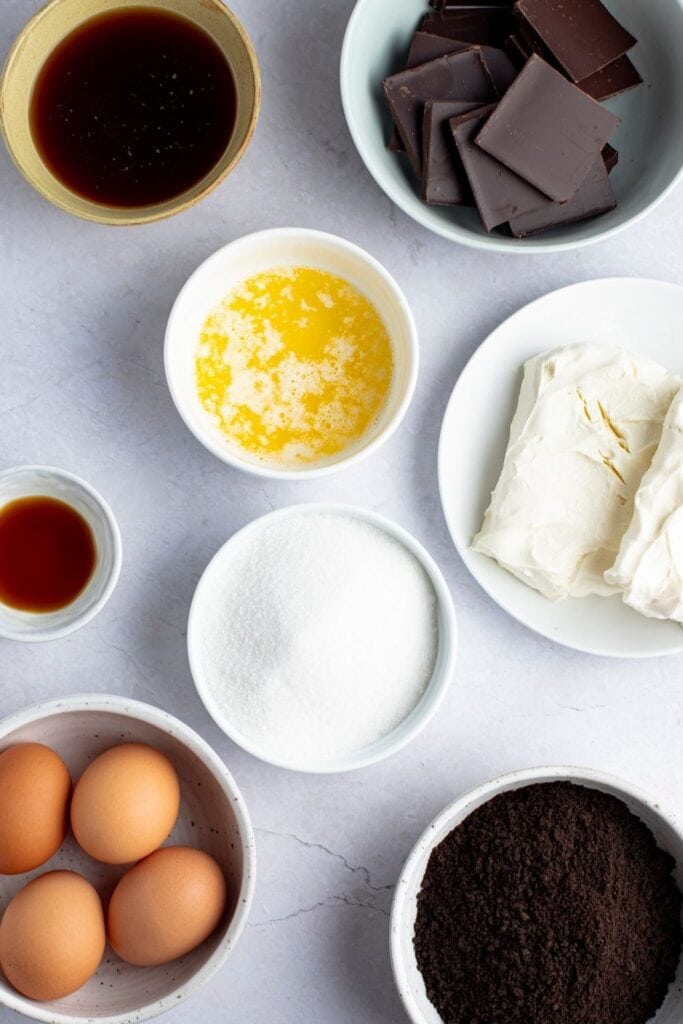
Crust – you’ll use a mixture of crushed chocolate wafers and unsalted melted butter. Granulated Sugar – for sweetness, of course.Brewed Coffee – coffee amplifies the flavor of chocolate, making the cheesecake even richer and more delectable. Salt – it balances out the sweetness and brings out the flavors of the chocolate at the same time.Godiva 72% Dark Chocolate Bars – it’s not called Godiva cheesecake for nothing! For the richest chocolate flavor, opt for Godiva, Lindt, Guittard, or Ghirardelli. I don’t recommend chocolate chips because they tend to have less flavor and a waxy consistency when melted. Cream Cheese – the base of every cheesecake. Be sure to use room temperature cream cheese for a smoother, silkier finish. Cold cream cheese will be hard to beat and most likely leave lumps in the batter.Eggs – for binding the ingredients together and making the cheesecake rise. Use room temperature eggs as they’ll incorporate easier with the rest of the ingredients. Vanilla Extract – flavor enhancer.Whipped Cream and Raspberries – optional, but highly recommended garnish.
Why Use a Springform Pan?
Springform pans are used because they have detachable sides, making them the perfect vessel for crust-based desserts, such as cheesecake. That’s because, unlike other cakes, you can’t flip a cheesecake over to get it out of the pan. The only way to set the cheesecake free is to remove the sides, which is exactly what a springform pan is capable of. If you don’t have a springform pan, the next best choice is to use a disposable pan. Though they’re made with sturdy foil, you can easily cut the side to set your cheesecake free. Or, you can also line a baking pan with parchment paper, and leave enough to overhang around the sides. Once the cheesecake is cooked, cooled, and set, you can carefully lift it out. This can be tricky, but with extra care and a set of hands, it can be done.
Tips for Making The Best Cheesecake
Use a blender or food processor to crush the wafers. If you don’t have one, place them in a Ziploc bag, seal, and crush with a meat tenderizer or rolling pin.Instead of wafers, graham crackers and Oreo cookies work, too. If using the latter, there’s no need to remove the creme filling.If you forget to take the cream cheese out of the fridge, just pop it in the microwave for 15-second intervals, until softened, but not warm. And don’t forget to take it out of the foil.Submerse refrigerated eggs in hot water for a minute to speed things up. Hot, but not boiling. You should be able to stick your hand in there comfortably.Do not mix hot butter with the wafers, otherwise, your crust will be greasy. Let the butter cool slightly before making the crust.Use the back of a glass or a measuring cup to firmly pack the crust mixture onto the bottom of the pan. If you don’t press it down, you might be left with a crumbly base.If you want ultra-smooth and silky cheesecake, be sure to whip the cream cheese well. That said, you don’t want overmix the batter, otherwise, you’ll introduce too much air into it, which can then lead to cracking and sinking. Always mix at low speed to incorporate as little air as possible. Stop as soon as the ingredients are well-combined.Do not overbake the cheesecake. Take it out of the oven once edges have puffed up and the middle is still jiggly.Do not slice into the cheesecake as soon as it’s out of the oven. I know it’s hard, but you’ll need to wait at least 6 hours for it to set. Otherwise, you’ll just get a runny, egg-tasting mess.Let the cheesecake cool completely at room temperature before you refrigerate. Do not attempt to chill right away in the hopes of speeding up the process, as this can cause cracks.Cheesecake tastes better the following day, so it’s best to let it cool in the fridge overnight. Take it out of the fridge 10 minutes before serving.Use a serrated knife when slicing the cheesecake. Run it under hot water and wipe it dry before each cut to make smooth, clean slices. If your cheesecake ends up with cracks, it’s not the end of the world. That’s what toppings are for.Storage instructions:Cover leftover cheesecake with plastic wrap or store in an airtight container. Refrigerate for up to a week.Freeze leftover cheesecake for up to a month. Wrap it tightly with plastic wrap and foil, label accordingly, and freeze. You can freeze either the entire cake or individual slices.To thaw, transfer cheesecake into the fridge overnight. Never leave it on the counter to thaw.
Should I Bake the Cheesecake in a Water Bath?
To water bath or not to water bath – this is usually the number one question asked when baking cheesecakes. It’s best to bake cheesecake in a water bath as it helps to distribute the heat evenly and prevent cracks. In addition, water adds moisture to the oven, which keeps the edges from cooking too fast and burning. Also, you’ll see a flat surface on top rather than a prominent crust with a water bath. With the water bath method, you’ll place the cheesecake pan into a larger pan partially filled with hot water and bake. This method is perfect if you’re making a New York cheesecake, or if you don’t plan on putting any toppings on it. An alternative to this is to place the water-filled pan on the rack beneath the cheesecake. It’s not as effective, but it still yields a pretty smooth and silky cheesecake. Pro-tip: when using the water method, wrap the springform pan in several layers of aluminum foil to prevent the water from seeping into the cheesecake.
More Cheesecake Recipes You’ll Love
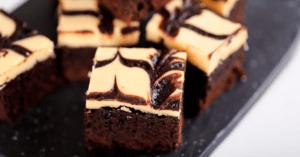
Philadelphia No-Bake CheesecakeNo-Bake Oreo CheesecakeOreo Cheesecake BitesCheesecake BrowniesDouble Layer Pumpkin Cheesecake
Click on a star to rate it!
Average rating 5 / 5. Vote count: 2 No votes so far! Be the first to rate this post.
Share on social media: Let us improve this post!