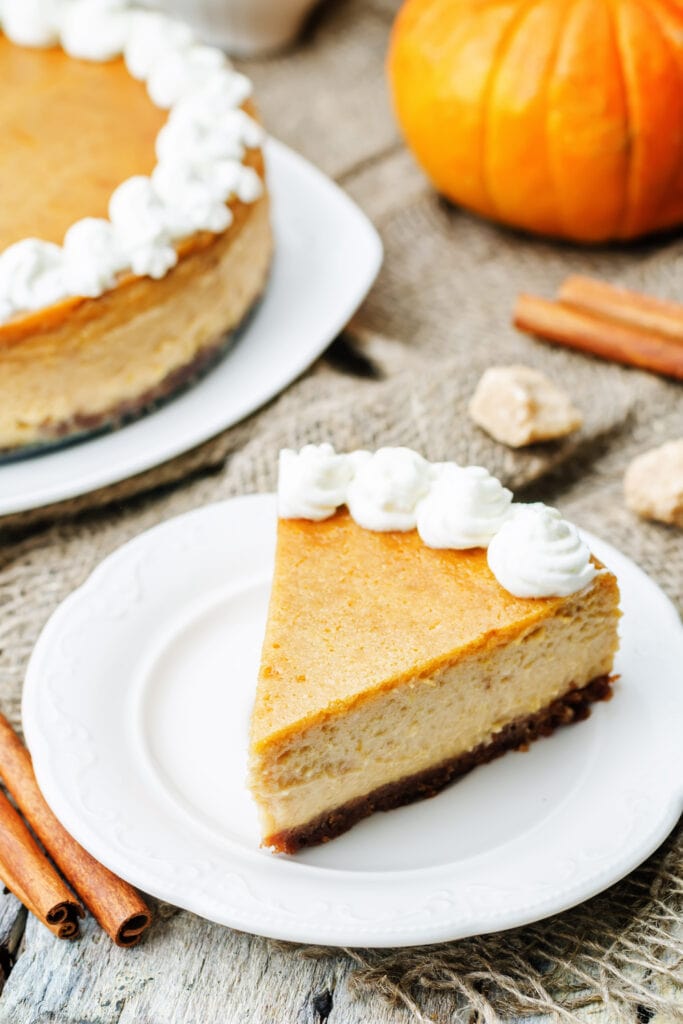
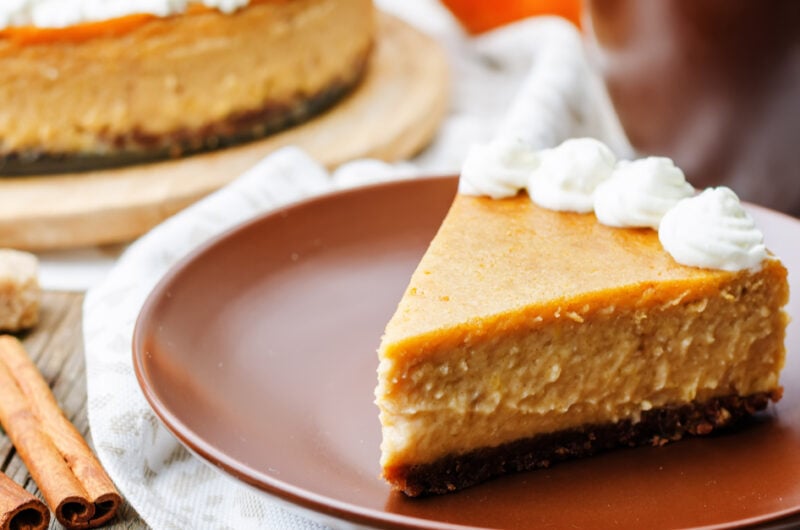
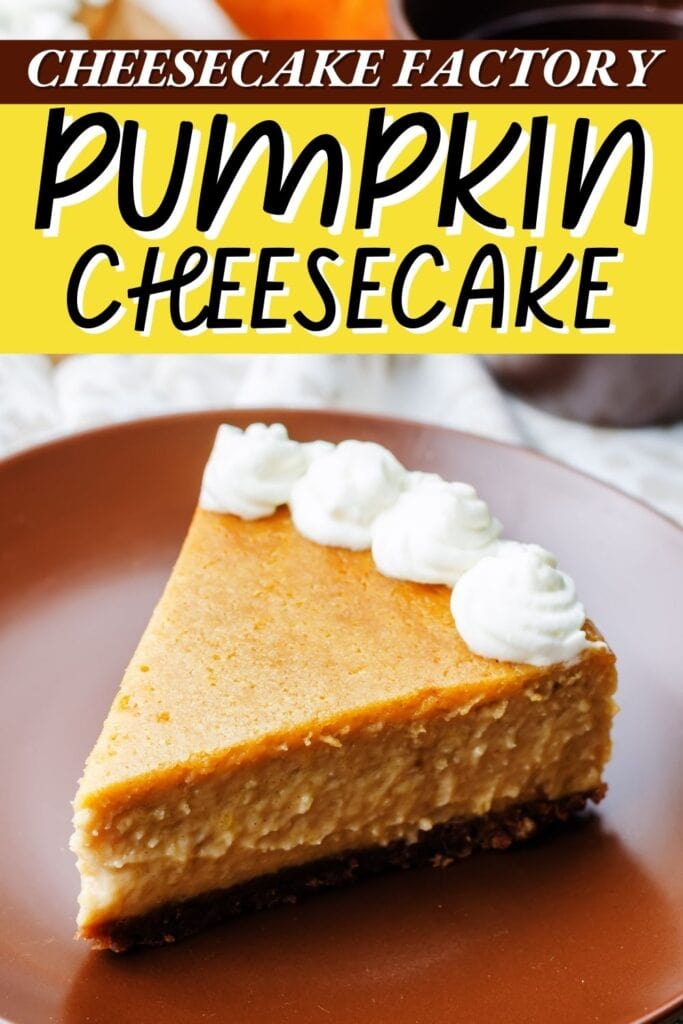
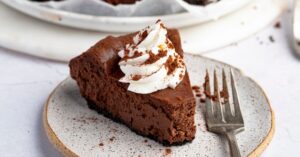
It’s no question that the Cheesecake Factory serves up some of the best cheesecakes in town. Heck, I’ve stopped on my way home more than once just for a slice or two to go! But at around $6-7 a slice? No, thank you. Instead, save your money and make your own pumpkin cheesecake at home. I know it’s not a piece of cake, but I’m right here with you, every step of the way. It’s worth the time and effort, I promise. This copycat Cheesecake Factory pumpkin cheesecake is smooth, silky, and tastes as good as the OG – if not better!
Ingredients
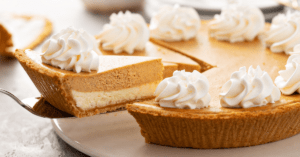
Cheesecake Crust – a simple mixture of crushed Graham Crackers, sugar, and melted butter. I use granulated sugar for this recipe, but brown sugar works, too.Cream Cheese – this is the main component of this dessert, so be sure to use a good-quality brand. For that, you can’t go wrong with Philadelphia. Use full-fat cream cheese for best results and make sure it’s at room temperature!Granulated Sugar – for sweetness.Vanilla Extract – enhances the overall flavor. Be sure to get extract or paste, not essence.Pumpkin – use canned pumpkin, not pumpkin pie filling which is pre-spiced. Eggs – they’ll bind the batter to create a smooth and creamy cheesecake.Fall Spices – a simple blend of cinnamon, nutmeg, and allspice will add warmth to the cheesecake.Whipped Cream Topping – Cool Whip is fine, but homemade whipped cream is so much better.
Tips and Tricks for the Best Cheesecake
If you’ve ever made a baked cheesecake before, you’ll know that it’s no walk in the park. Overwhisk the batter, and it might turn out with air bubbles. Underwhip it, and you might be left with lumps. And then there’s the dreaded water bath! But don’t worry, with these tips and tricks, your pumpkin cheesecake will come out perfect every single time!
Should I use a Springform Pan?
Cheesecake should be made in a springform pan because it has a delicate texture, which means you can’t flip the pan to release the cake. Instead, you need to lift the base free; otherwise, it might crack. Another option is to use a regular dish and freeze the cheesecake so it will come out whole. Because of its detachable sides, a springform pan is the perfect vessel for carrying crust-based desserts, such as tarts, pies, and cheesecakes. If you don’t have one, the best alternative is to use a disposable pan that you can cut off to release the cheesecake. Still, this could result in cracks or squashed sides. Another option is to line a baking pan with parchment paper and allot overhangs around the edges. You’ll then use the overhangs to gently pull the cake out of the pan. With both of these alternatives, it would be best to freeze the cheesecake first to ensure it doesn’t get crushed or ruined.
How to Prevent Cheesecake from Cracking
There are many possible causes for a cracked cheesecake, but they’re all avoidable with a bit of know-how. So, follow these tips for a perfectly smooth and creamy cheesecake inside and out.
Don’t Overmix the Cheesecake Filling
Overworking the batter introduces too many air bubbles, which will cause the cake to expand too much during baking and then drastically deflate once it’s out of the oven. This abrupt change can cause the cheesecake to crack.
Use Room Temperature Ingredients
Even if you don’t overmix the batter, using ingredients straight from the fridge is another mistake that can lead to cracks. So, be sure to use room temperature ingredients – from the cream cheese to the canned pumpkins to the eggs. Soft, room temperature ingredients are easier to incorporate with each other, which means you won’t need to beat them too much. As long as you use room temperature ingredients, the batter should come together no longer than 5 minutes.
Don’t Overbake or Underbake the Cake
An overbaked cheesecake doesn’t only have cracks on the surface but also has a dry texture. An underbaked one, on the other hand, will weep. That said, you’ll want to stick to the prescribed baking time and temperature and keep a close eye on the cake, especially during the last few minutes. To check for doneness, look at the surface. It should be just a little darker compared to its original color. The sides should have set and puffed up a bit, but the center should still jiggle a little when you give the pan a nudge. It’ll continue to firm up as it cools, so there’s no need to worry. I’ve always found that an hour in a low oven is more than enough, followed by an hour with the door cracked and the oven off.
Give the Cheesecake Time To Cool
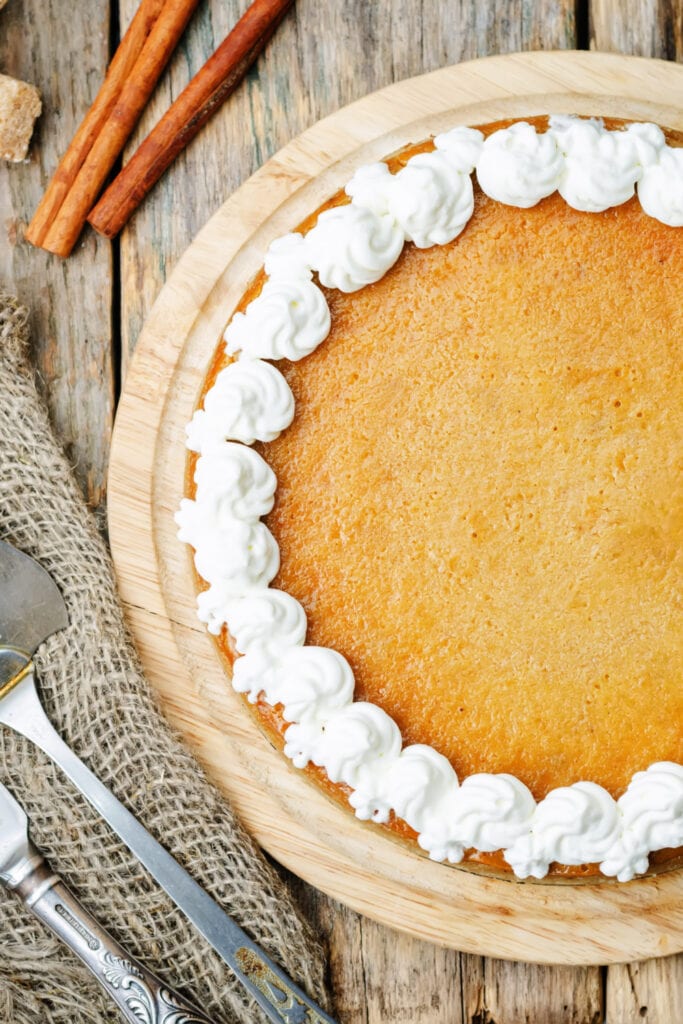
This is the one thing I dislike about baking cheesecakes – you need to wait for hours before you can have a slice! And nope, there’s no way around it. I’ve tried many times. After baking, let the cheesecake sit out at room temperature for 1-2 hours or until it cools completely. Then, cover the pan with plastic wrap and refrigerate it for at least 8 hours – better if overnight. This time is crucial to allow the flavors to marry. It also keeps the cheesecake from sinking and cracking. If All Else Fails, Cover It Up With Toppings No one has to know! The truth of the matter is your cheesecake will still taste good even though it may not have turned out as pretty as you hoped it would. You can go for a simple whipped cream topping or make it extra with berry preserves or chocolate ganache. If you need more ideas, I’ve got a whole post dedicated to cheesecake toppings. I’m sure you’ll find something yummy in there!
Do I Have To Use a Water Bath To Bake Cheesecake?
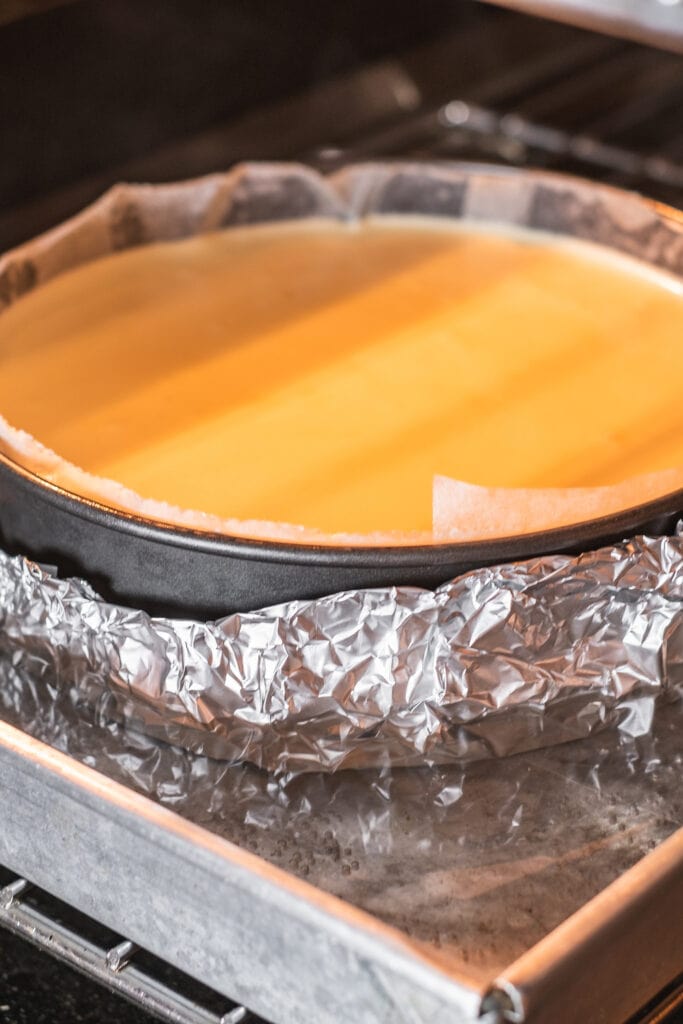
Baked cheesecakes don’t always need a water bath, but it is the best way to ensure they cook evenly and without any cracks. The water adds moisture to the oven, which keeps the top from drying and cracking as it cooks. Plus, it ensures the edges don’t overcook before the middle sets. Of course, some recipes require it, and then others don’t. Personally, I think there are ways around it, which I’ll share with you in a minute. BUT, if you’re really keen on acing that smooth, crack-free cheesecake surface, a water bath is the best method.
What Is a Water Bath?
A water bath is a cooking method where the baking dish is partially submerged in water. To achieve this, the cake is placed into a larger baking dish, and then water is added until it reaches about halfway up the side. The water adds steam to the cooking process and should partially evaporate. This way, the water that surrounds the cheesecake batter protects it from exposure to direct heat, promoting gentle and even baking. In short, it guarantees a smooth and silky cheesecake. Pro-tip: when trying this method, be sure to wrap tin foil around the bottom and sides of the springform pan to keep the water from seeping through the cake. I like to use one layer of foil followed by one layer of cooking plastic (such as a roasting bag). Repeat these layers, and you should have leak-free coverage.
Water Bath Alternatives
If you don’t want to go through the trouble of preparing a water bath but still want that smooth cheesecake surface, a great alternative is to bake the cheesecake at a low temperature. This will take more time, but it really does deliver excellent results. At 325 degrees Fahrenheit, your cheesecake will bake in about 1 1/2 hours. Another option is to bake the cheesecake on the middle rack with a pan filled with water placed on the bottom rack. Just like in the water bath method, the water helps cook the cheesecake evenly.
More Tips and Tricks
To make the crust fast, throw everything into a food processor. Just add the Graham Crackers, sugar and the melted butter, then pulse a few times until it looks like wet sand.Want a sweeter crust? Use Oreo cookies instead! And if you want it really sweet, don’t remove the creme filling.When making the crust, let the melted butter cool for a bit before combining it with the crushed cookies. Hot butter yields a greasy crust. Use the back of a measuring cup to press the crust mixtures firmly and evenly onto the pan. It needs to be packed tight to keep from crumbling when you remove the base of the pan.Storage instructions:Cover the cheesecake with plastic wrap and refrigerate for up to 7 days.Double wrap it with tin foil and plastic wrap and freeze for up to 2 months.Thaw frozen cheesecake in the fridge overnight or let it sit on the counter for 1-2 hours.
Other Cheesecake Recipes You’ll Love
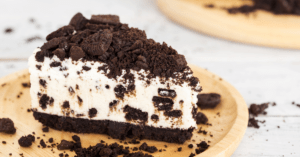
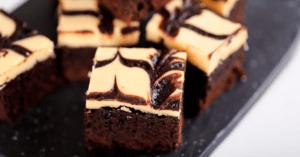
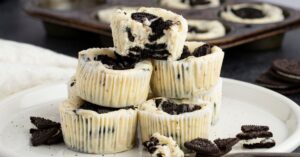
Godiva Chocolate CheesecakeNo-Bake Oreo CheesecakeOreo Cheesecake BitesCheesecake BrowniesDouble Layer Pumpkin Cheesecake
10 Click on a star to rate it!
Average rating 4.5 / 5. Vote count: 2 No votes so far! Be the first to rate this post.
Share on social media: Let us improve this post!